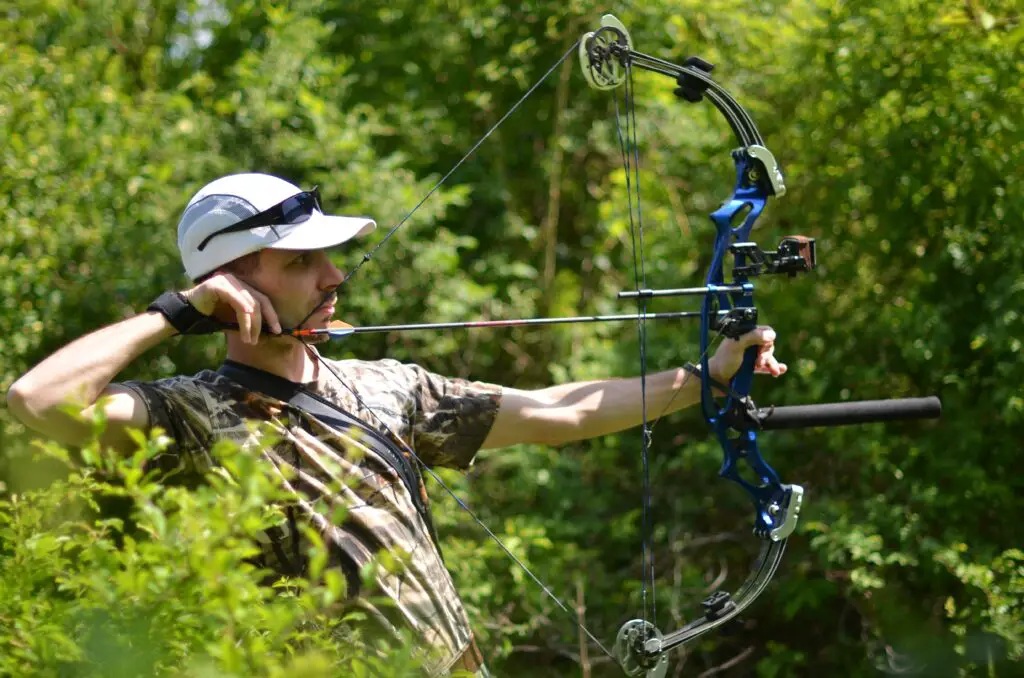
A multipin sight is an excellent tool for hunters and 3D archers. The benefit of having multiple pins is that you can configure them each for a separate distance. Since the arrow drops at long range, we need to aim the bow farther up to account for this.
On single-pin sights, you must move the sight if you shoot at different distances. But if you have a multipin sight you just pick a different sight pin to aim with. This offers you a lot of flexibility but also makes it more challenging to configure the sight.
In this article, I will make this process as simple as possible. If you follow the steps below, you will be able to configure any multipin sight!
1. Choose the range of the pins
Before we make any adjustments, we need to know at which distances we would like to have the sight pins. Do you primarily shoot at short distances? Then you might want to choose 20, 30, 40, and 50 Yards. But of course, you can also put the pins for a longer distance.
There are some limitations, however, which are largely dependent on the draw weight of the bow and the size of your sight. Therefore, be critical of the range you set. Do you really need a sight pin for 70 yards? If you never shoot at this distance, this probably doesn’t make sense.
You can adjust this later, but what we need for the next step is the minimum distance, which will be your highest-sight pin. If you are not sure, you might want to pick 20 yards. Most compound bows experience very little arrow drop at close range, so you will also be able to shoot at closer targets with this sight pin.
2. Center the sight
Before we make any adjustments to the sight, we need to center it (also called center shot). Centering means that the sight is in a straight line with the string. This provides the sight with a solid starting position to configure the sight. Just follow these steps to center the sight:
2.1 screw the sight onto the bow and make sure that all sight pins are in place. The exact position of the sight pin (vertically) is not important. We just need them to center the sight horizontally.
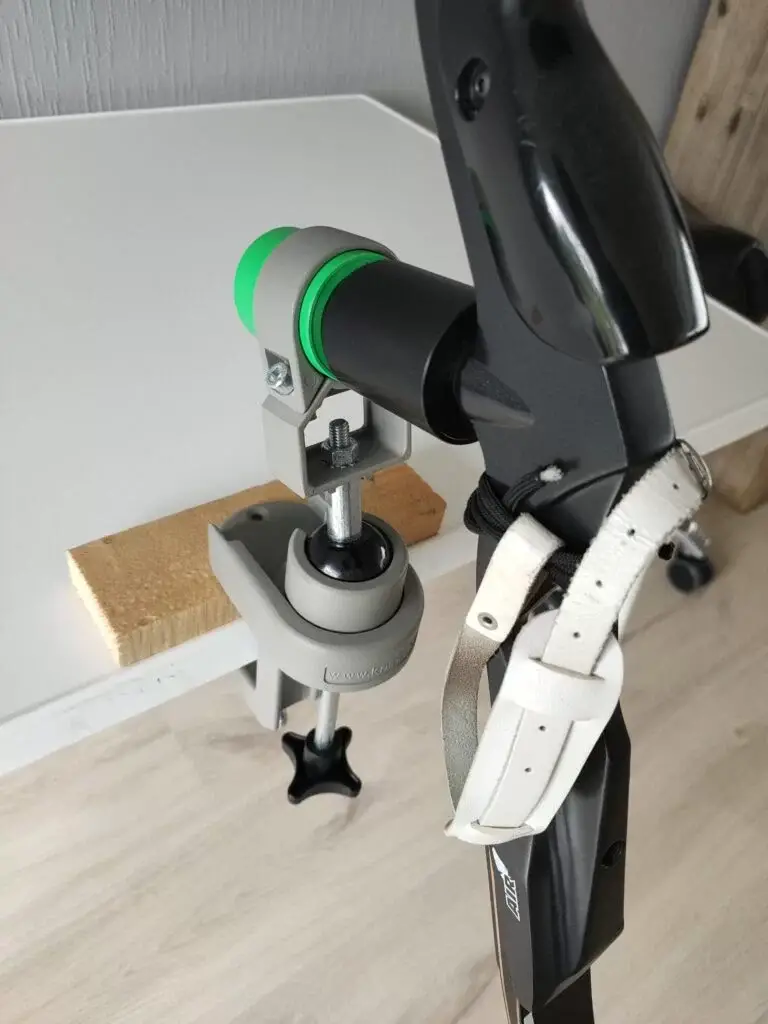
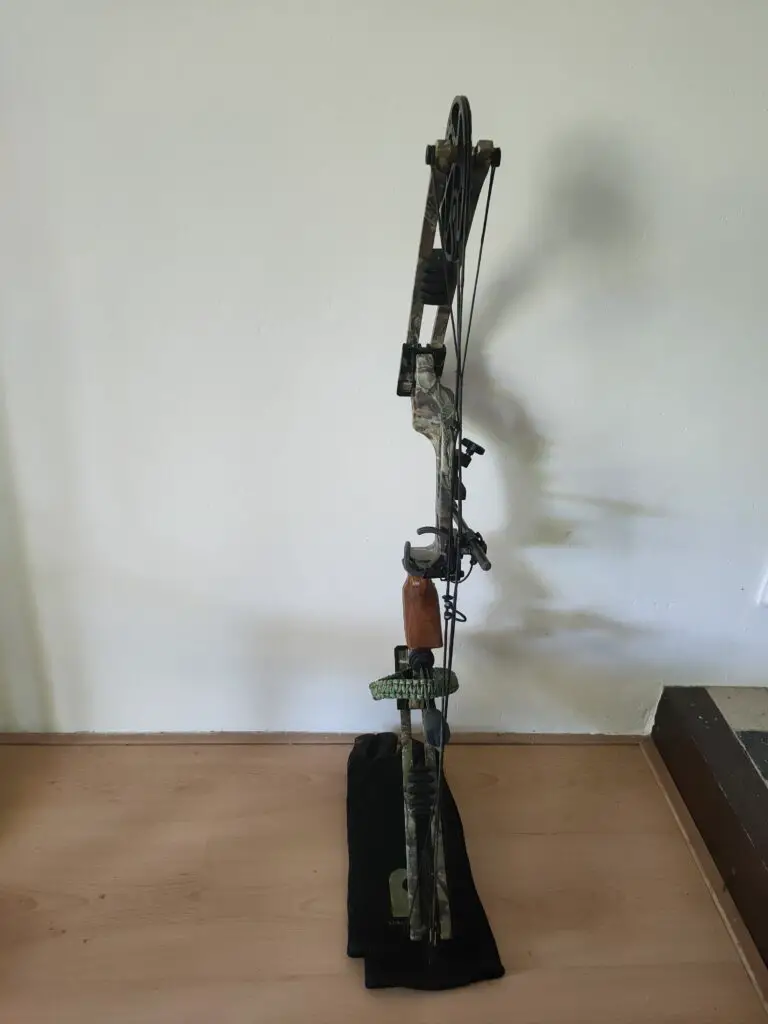
2.2 Prop up your bow, which allows you to look at your bow from a distance. You can use a bow vise for this, but if you are creative, you can also use other methods. For example, you can tape your stabilizer to the table to get the same effect. Or you can balance the bow against a wall. The bow must be stable when you are going to the next step. Therefore, you can’t ask a friend to hold it for you.

2.3 Once your bow is secure, take a few steps back and close one eye. Orient your eyes until you have the string exactly on the holes of the limb bolts. This is an easy way to make sure that you are looking exactly straight at the bow.

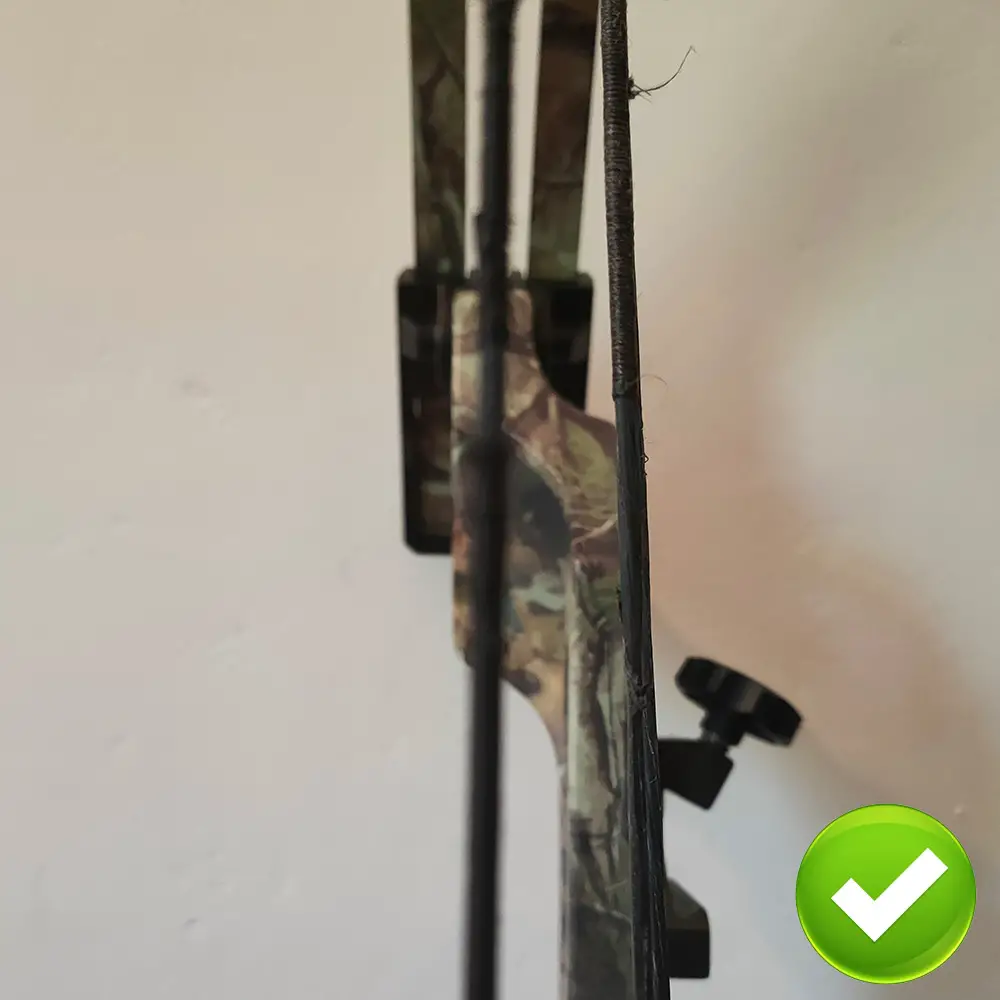
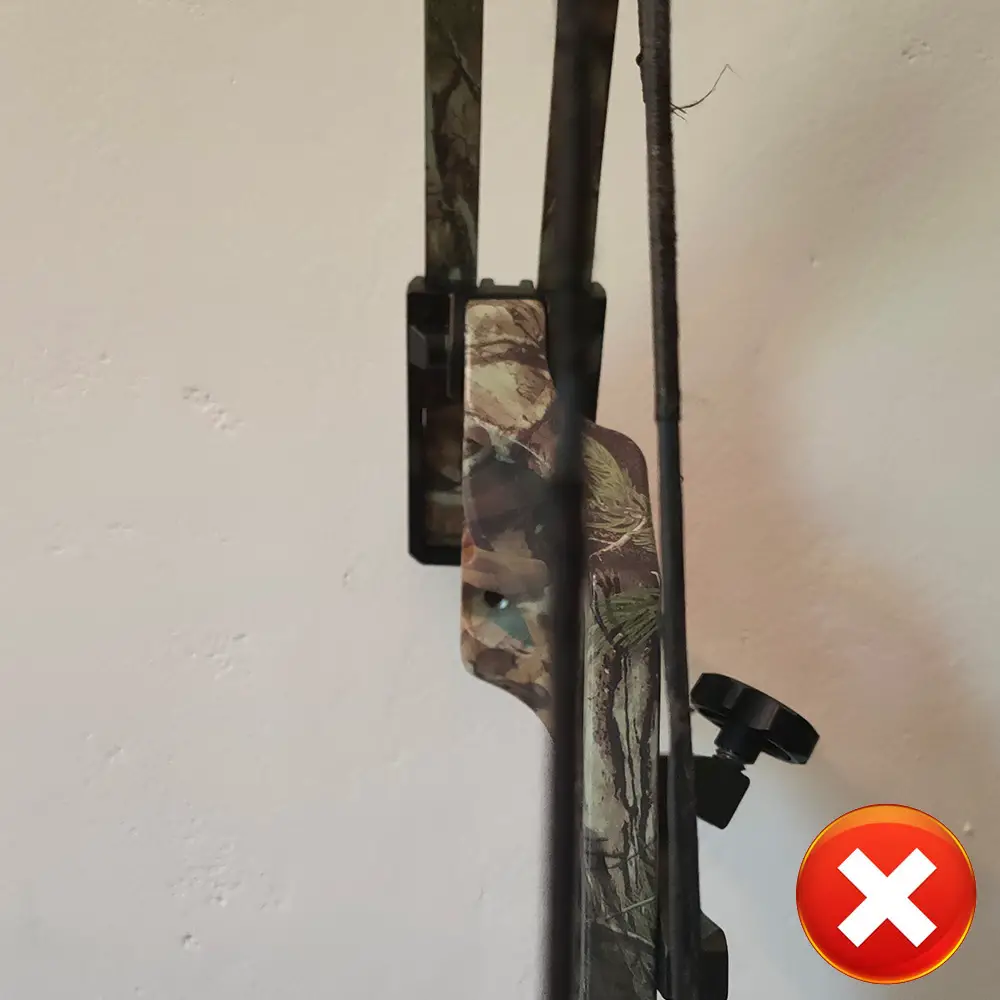
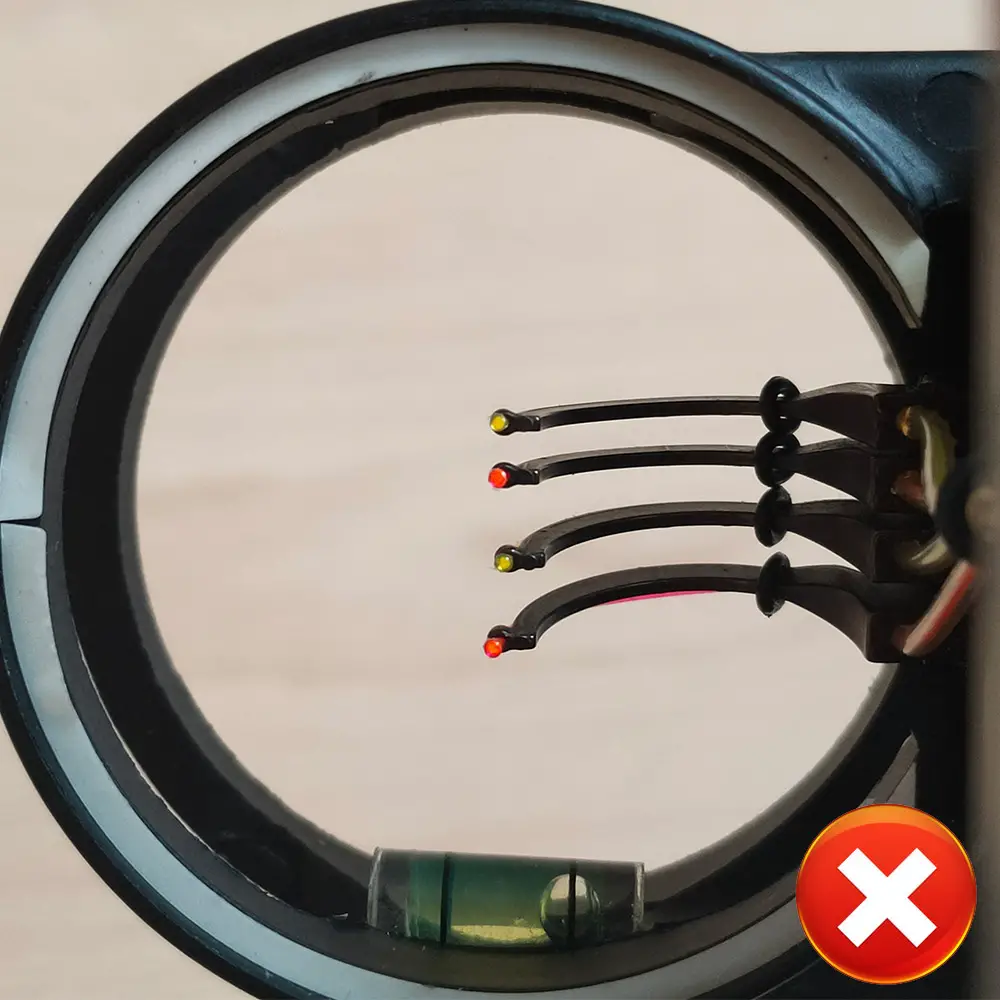
2.4 Stand very still and look at the sight. We need to adjust the sight until the pin is exactly on the string. Some sights have a nob to adjust the horizontal axes, while others have a screw that you need to loosen. Make small changes, while adjusting the sight!
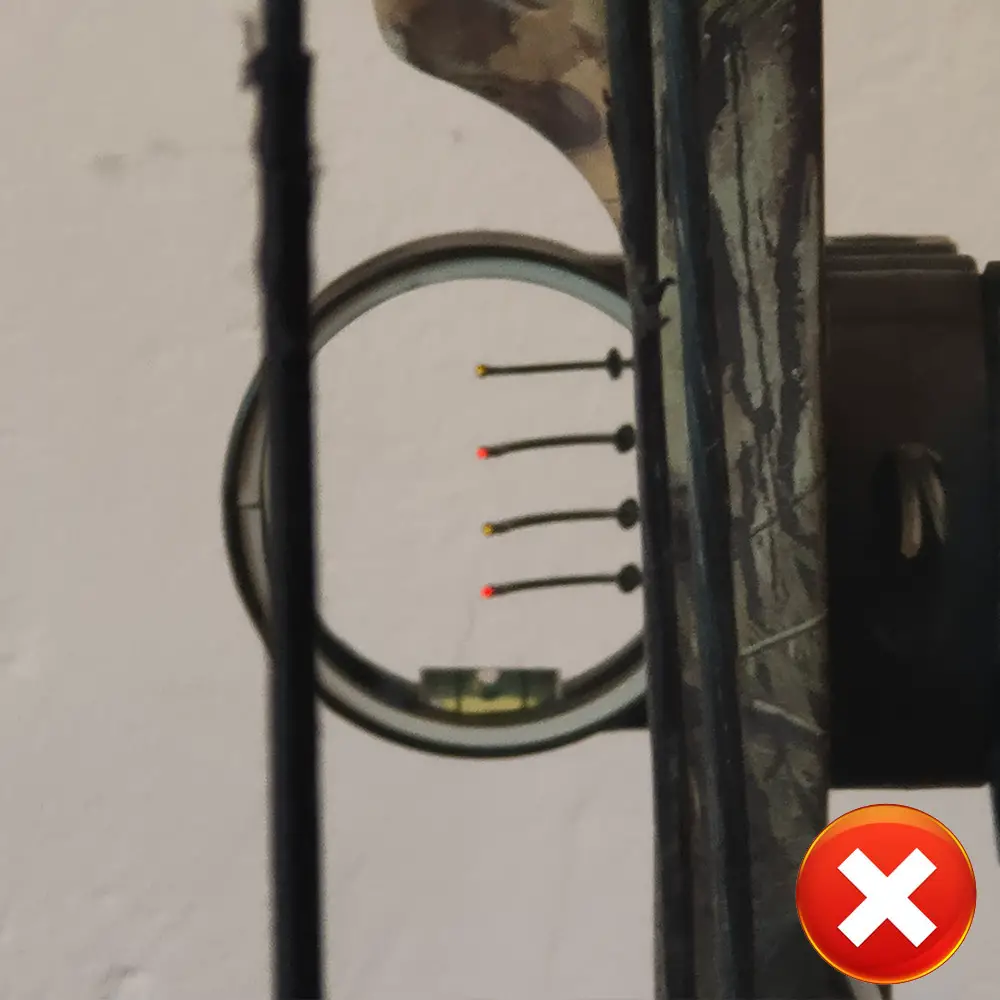
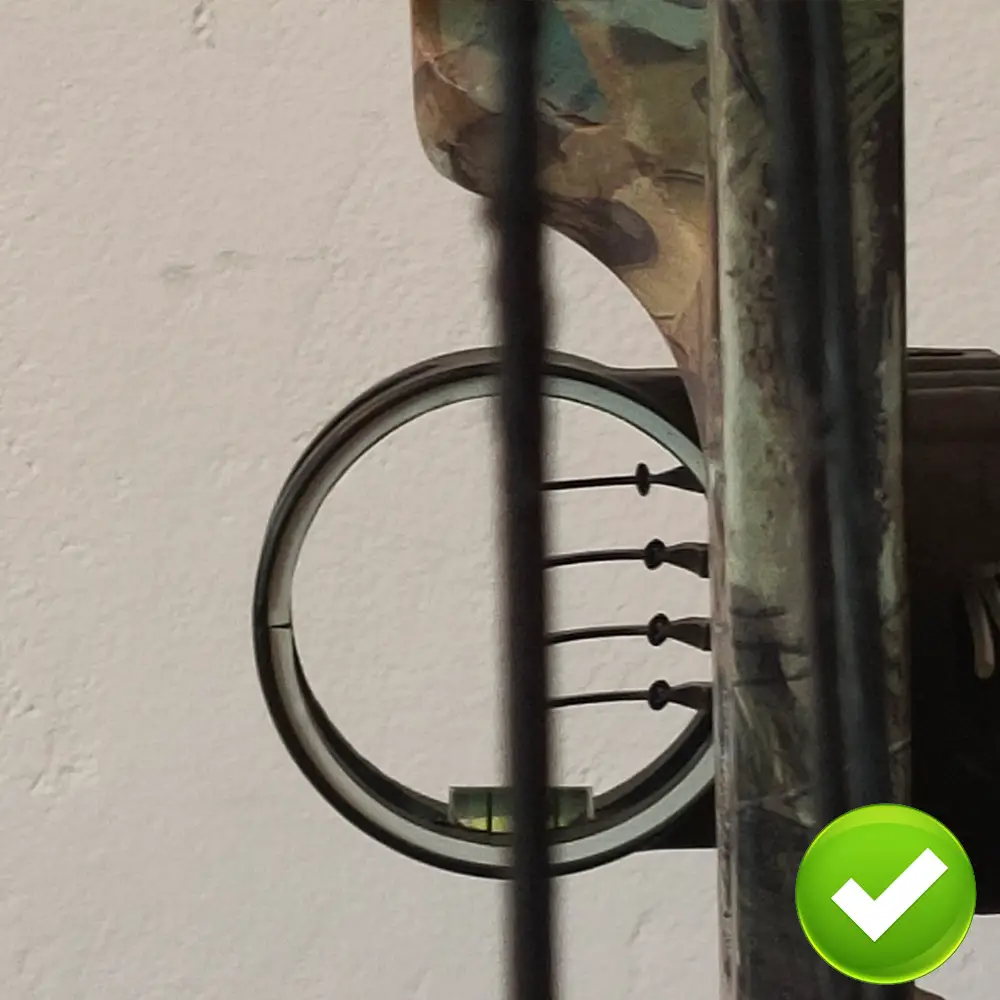
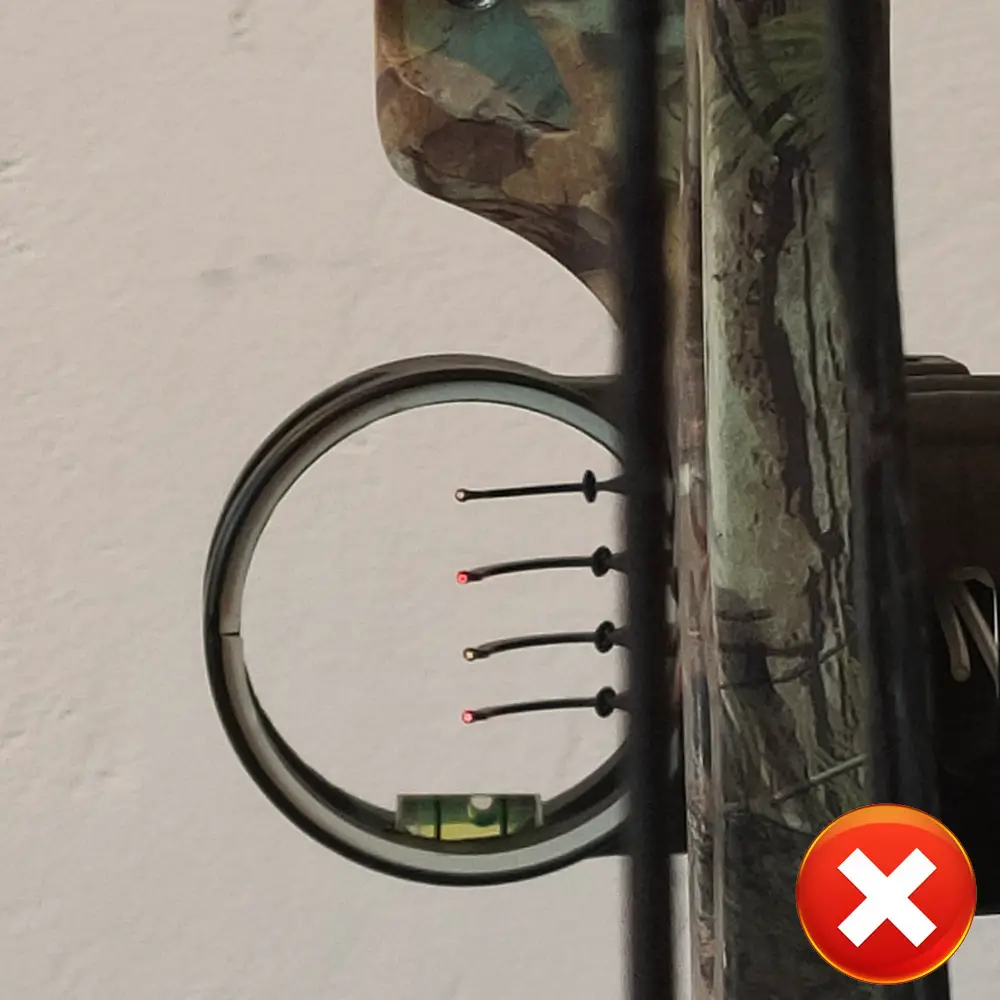
2.5 Recheck the alignment by repeating steps 2.3 and 2.4 until the sight pins are exactly aligned. Once the sight pins are exactly on the string, you can move to the next step!
3. Set the upper sight pin
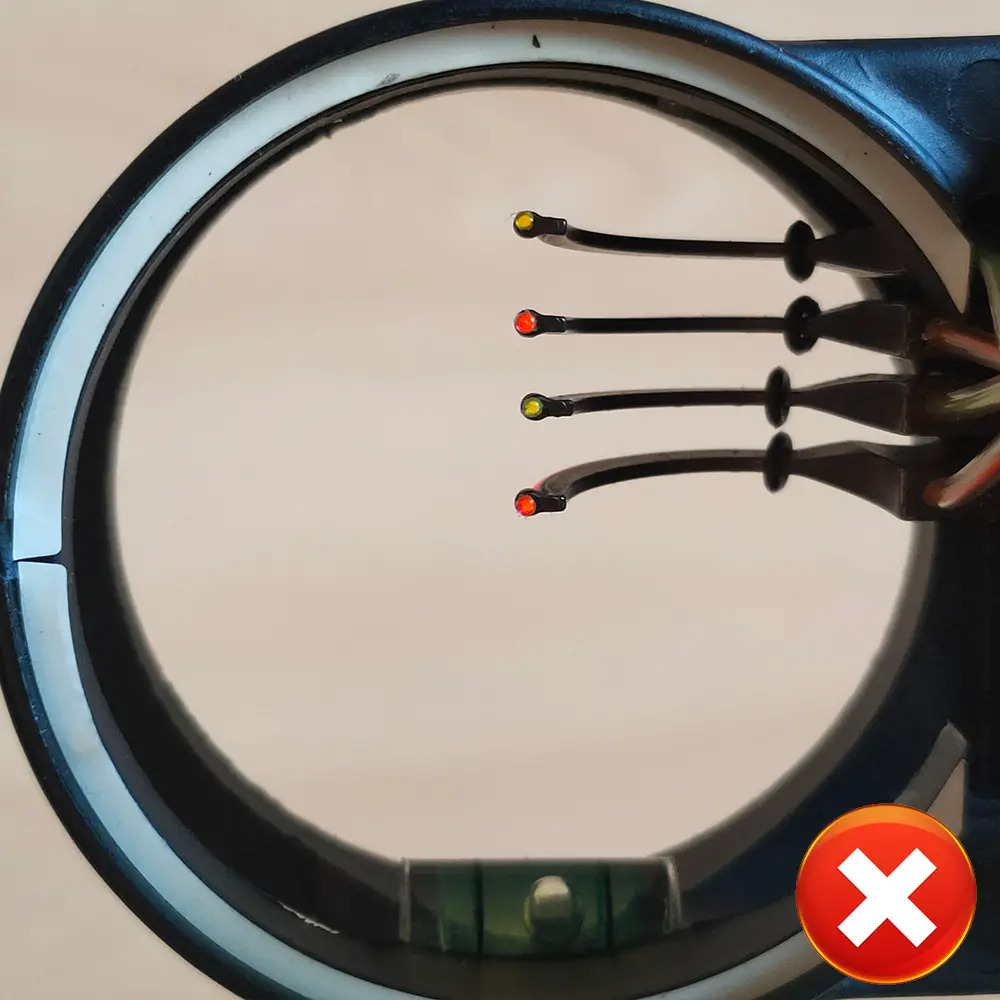
To correctly set the multipin sight, we start with the top pin. You need to put this pin, almost all the way to the top. I recommend keeping a bit of space so you can always make some minor adjustments later.
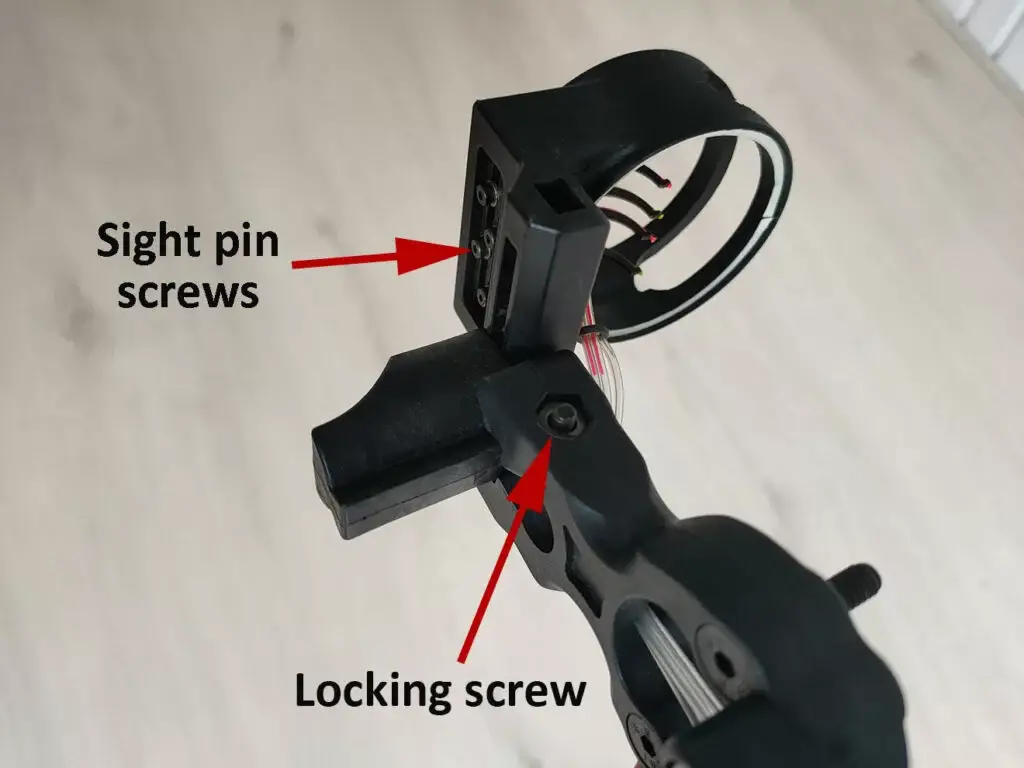
Most multipin sights have a module on the side where you can loosen each sight pin individually with a hex screw. You need to loosen this sight pin and slide it to the top while keeping a bit of space to move it around.
4. Elevation adjustment
Once we have the first sight pin in place, we can adjust the elevation (vertical axis) of the sight. We want to adjust the entire sight window and not just one sight pin. You need to be able to shoot a few arrows, so you either need to do this on the archery range or create a backyard range.
If you shoot at home, make sure to take the necessary safety precautions. Read this article for all the precautions you must take.
At the archery range, you must shoot at the distance you set for the first sight pin. Now shoot a few arrows and see where they land. When the arrows land below the target, you should move the sight down. And vice versa if the arrows land above the target. You can easily remember this with the following sentence:
‘’You must adjust the sight toward the error’’
Please note: if you are new to archery, you might want to start at a very short distance (10 yards/ 9 meters or less). Especially when the sight is not sighted in, the arrow can land far away from the target.
You might notice that the arrows are not perfectly centered horizontally. Meaning that the arrows land to the right or the left of the target. This could indicate that your arrow rest is not centered. If you think this might be the case, you might want to read the article below:
If there are just some minor errors on the horizontal axes, you can also adjust the sight. You can always make changes later.
5. Sight in the other sight pins
Once you have sighted in your first sight pin, we can move down to the other sight pins. Move to the second sight pin and test it for the distance you marked earlier.
Just like in the previous step, you must move the sight pin down if you shoot below the target and up if you shoot above it. This time you only want to adjust the sight pin and not the entire sight. On most multipin sights there is a small hex screw that you must loosen. Make small adjustments at a time!
Repeat this for all the other sight pins. This can easily take a few hours and you might have to adjust it later.
6. Adjust the range and the pins if necessary
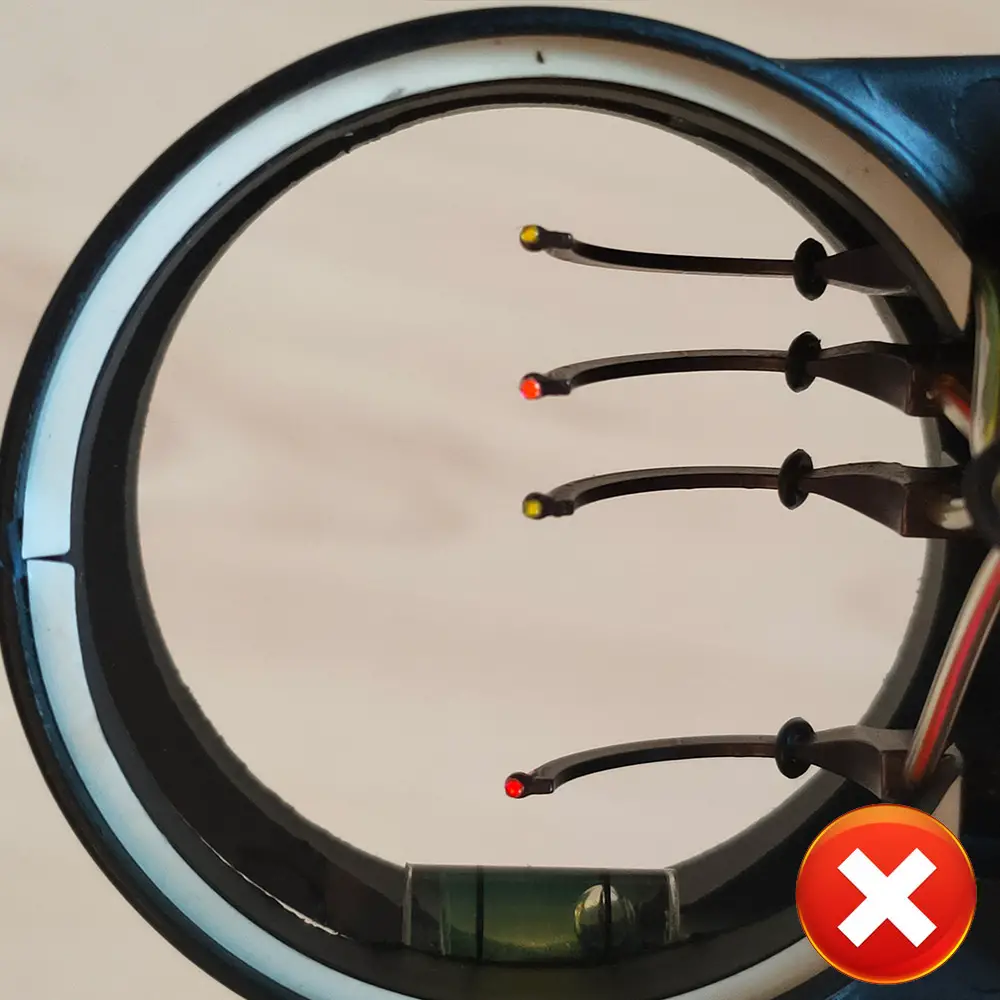
Once you have set your sight pins you might have to make some adjustments. For example, you don’t want to have all your sight pins squished together. Also, you want to make sure that there are not huge gaps between the sight pins.
So, you might have to change the distances you have set your sight pins to. For example, if you have a bow with a high draw weight. The sight pin for 20 or 30 yards could be very close together. So, you might want to set the second sight pin at 40 yards instead.
This depends on your needs, of course. If you only shoot short distances, it could make sense to have the sight pins closer together. But if you do, you will see less of your target, therefore it is a trade-off that you must make.
FAQ
While configuring your multipin sight you might run into some issues and questions. Below I have answered the most common ones. If your questions are not included, please leave them down in the comment section at the bottom of this article.
The sight pin bottoms out for longer distances, what can I do?
Especially if you have a large range between your sight pins (for example 20 to 90 yards), you might find that you cannot put the lower sight pin any lower. There are a few ways to fix this:
- Decrease the range between the sight pins: if you only shoot long range, you might want to set the first sight pin to a farther distance. 30 or 40 yards for example.
- Choose a different sight: not all multipin sights have the same range. Some have bigger housing and thus support a bigger range.
- Increase the draw weight: bows with a higher draw weight will experience less arrow drop. So, if you need the range, you might want to increase the draw weight of your bow. But make sure that you can handle the draw weight. Shooting with a too-heavy draw weight can lead to all sorts of issues.
For most archers, the first option will be the best one. You probably need a different magnification for the long and the short-range anyway. So, trying to squeeze it all in one sight doesn’t make a lot of sense.
My multipin sight deviates to the right/left, what should I do?
Some archers experience the issue that the sight works perfectly for the first sight pin. But once they increase the distance and use the other sight pins, the bow starts to deviate right or left.
Before you start adjusting your sight, make sure that you have mastered the basics of archery. If your shots are all over the place, it is impossible to finetune the sight. If you feel that you need a refresher on the technique, make sure to read my detailed article below:
If you are sure that it’s not your technique that is causing the error, you can do some other checks. Make sure that both your sight and arrow rest are aligned by reading the articles below:
If you are still experiencing issues, you might want to visit an archery store, for some hands-on help.
What is the best multipin sight?
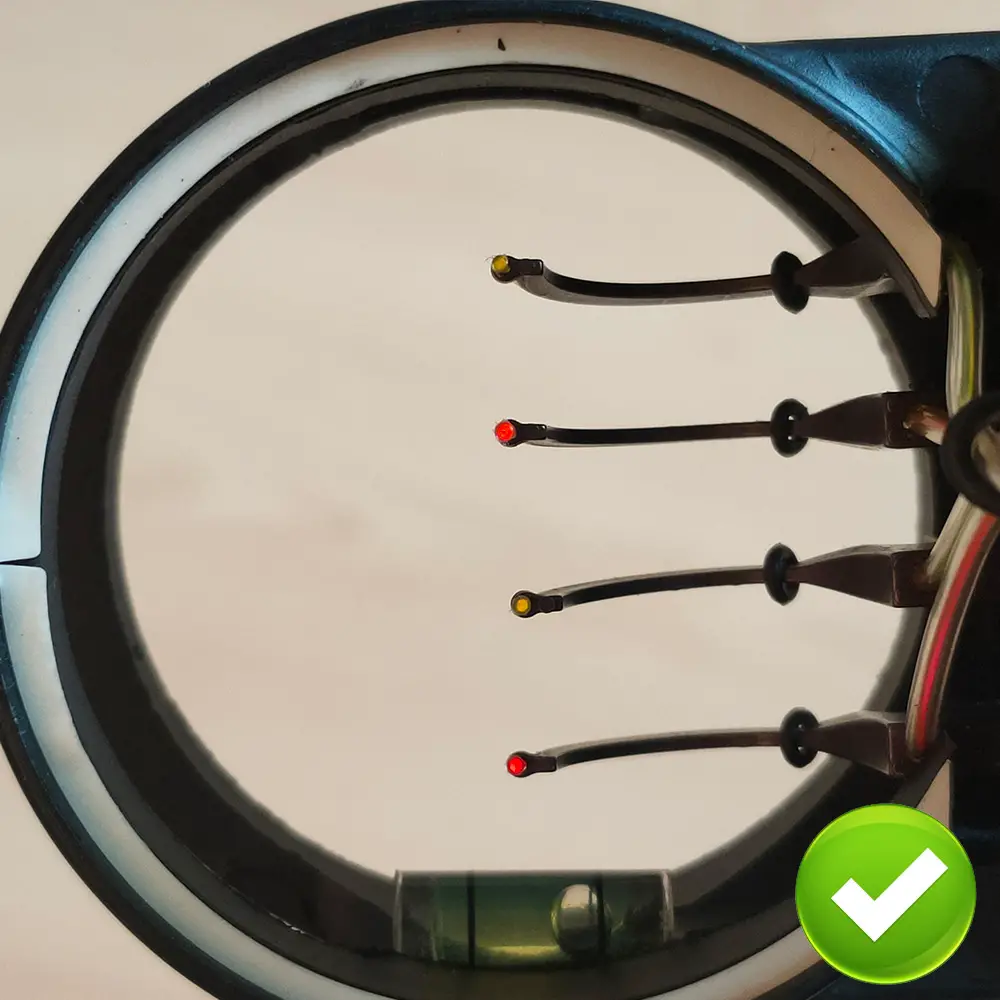
There is a huge variety of multipin sights. From the cheap multipin sights (such as the one in the pictures) to advanced sights. The major difference between the cheap and expensive options is the overall build quality and adjustment options.
Most expensive sights have micro adjustment nobs which allow you to adjust the elevation and windage very quickly and precisely.
Make sure to read my article below for the best multipin sights:
6 best archery sights – multi and singlepin
Final words
I hope this article helped you to configure your multipin sight. I tried to keep this guide as short as possible, but if you need more guidance you might want to read this article. In that article, I discuss in more detail how sight works.
To not repeat myself, I assumed some basic knowledge about how to configure the sight. So, if you are still confused or looking for answers, you might want to read that guide as well.
Please let me know if you have any issues configuring your sight in the comment section down below. If you explain your situation well, I might be able to help you!

Tim van Rooijen
For as long as I can remember, I have always been fascinated by archery. First due to its historic significance but later because I like being outdoors. With this blog, I share my knowledge about Archery and how you can improve your shot. More about author…