If you want to get started with archery you will need a bow. But since you don’t have any experience yet, this might be overwhelming. There are so many things you must consider, the type of bow, the length of the bow, and the draw weight just to name a few. I understand that you want to get started as soon as possible. Therefore, in this article, you will find all information you need when you buy your first bow.
I will first discuss what a beginner’s bow is and why it’s different from a competition recurve bow. Next, I will discuss what kind of bow you need and what things you should consider. In the next section, I will give you a step by step guide on how to choose the right bow. Since you probably don’t want to spend hours finding your gear, I have also listed products I would recommend when you are just getting started.
What a beginner’s bow is
A beginner’s bow is a bow that is beginners friendly that doesn’t require much tuning to be shot. It’s a relatively simple bow that has proprietary limb fittings and limited customization options. Therefore, it’s an easy bow to get started with. You don’t need too much technical knowledge to use it and they are cheaper than a competition recurve bow.
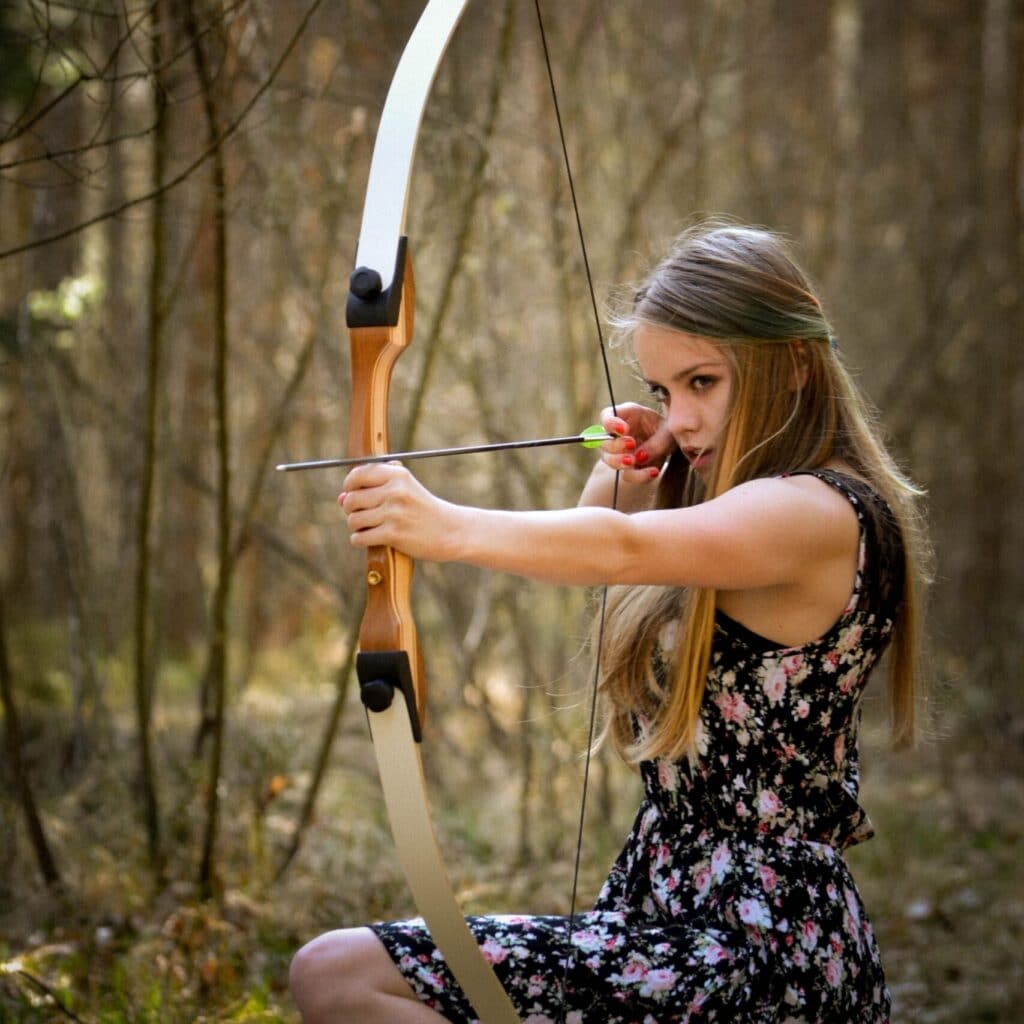
You can easily identify a beginner’s bow by the wooden riser and the removable limbs. All competition recurve bows have composite or metal risers. All traditional bows have fixed limbs. Therefore, these two tricks help you identify a beginner’s bow.
Why you might want to buy a beginner’s bow
There are some good reasons, why you might want to buy a beginner’s bow, let’s discuss them in a bit more detail:
- You want a simple basic bow: the purpose of the beginner’s bow is to let beginners learn the principles of archery without making it too complicated. The limb and tiller adjustment on recurve bows, just make things more difficult. Therefore, not having to worry about these things can help you focus on what is really important, your technique!
- You want a cheap bow: because beginners bows are simpler, they are also cheaper. Although there are some cheap competition recurve bows available. They will always be more expensive than a beginner’s bow.
- You don’t shoot often (less than once per week): when you don’t shoot often, a beginner’s bow will do the trick. You probably don’t care that you can’t change the grip or that you can’t change the limbs. Maintaining a proper recurve bow will only take time away from shooting.
- You don’t want to participate in competitions (yet): if you don’t want to participate in competitions, your exact score won’t matter that much. Therefore, buying a more expensive recurve bow might not be worth it.
Why you might want to buy a recurve bow instead
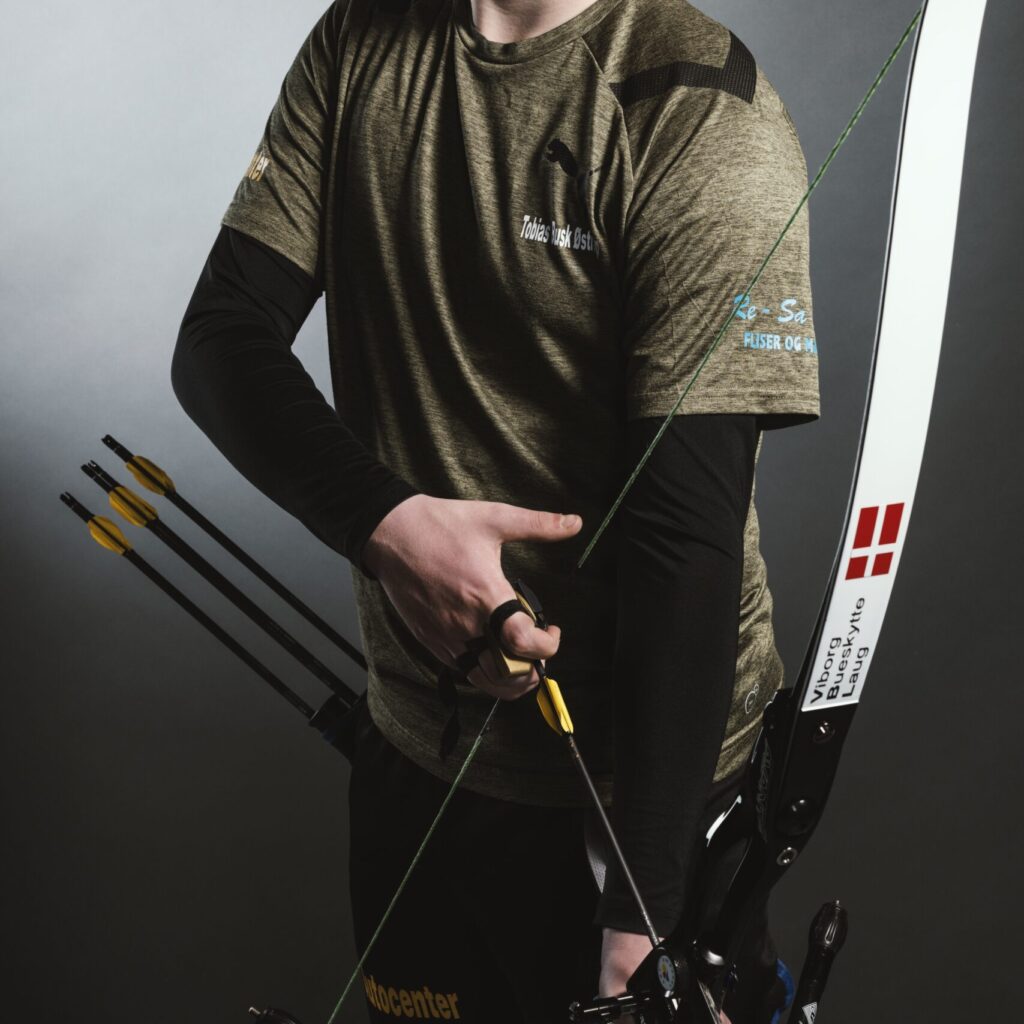
Before we discuss some reasons why you might want to buy a recurve bow instead, I quickly must discuss some terminology. In archery competitions, we often discuss three different disciplines: traditional, recurve, and compound archery. Technically any bow with curved limbs is a recurve bow. Thus, a lot of traditional and beginner’s bows also are recurve bows. The bows we use in competitions are technically called Olympic recurve bows and the division is also often called Free-Style Recurve (FSR).
But both names are confusing and too long. Therefore, most archers just call these bows recurve bows. Therefore, just remember when I say recurve bow, I mean a recurve bow that competition archers use. Read the articles below if you want more information regarding these terms:
Alright now we got that out of the way, let’s discuss some reasons why you might want to buy a recurve bow instead.
- You want to participate in competitions: although no rules are preventing you to participate in competitions with a beginner’s bow, you will be severely disadvantaged. The bow is less customizable to the archer and is overall less accurate. Therefore, you never see beginners bows at competitions.
- You shoot regularly (more than once per week): when you shoot regularly you might feel that some things on your bow could be better. You might not like the grip, or you might want to adjust the limbs. If you shoot more, you get more preferences and get pickier.
- You don’t want to be locked into one manufacturer’s ecosystem: as mentioned earlier, beginner’s bows have proprietary limb fittings. This means that you can’t attach limbs from other manufacturers. We will discuss how this limits you later in the article.
Since this article is about beginner’s bows, I won’t discuss how to choose the right recurve bow. Read the article below instead if you want to buy a recurve bow.
Toys vs bows
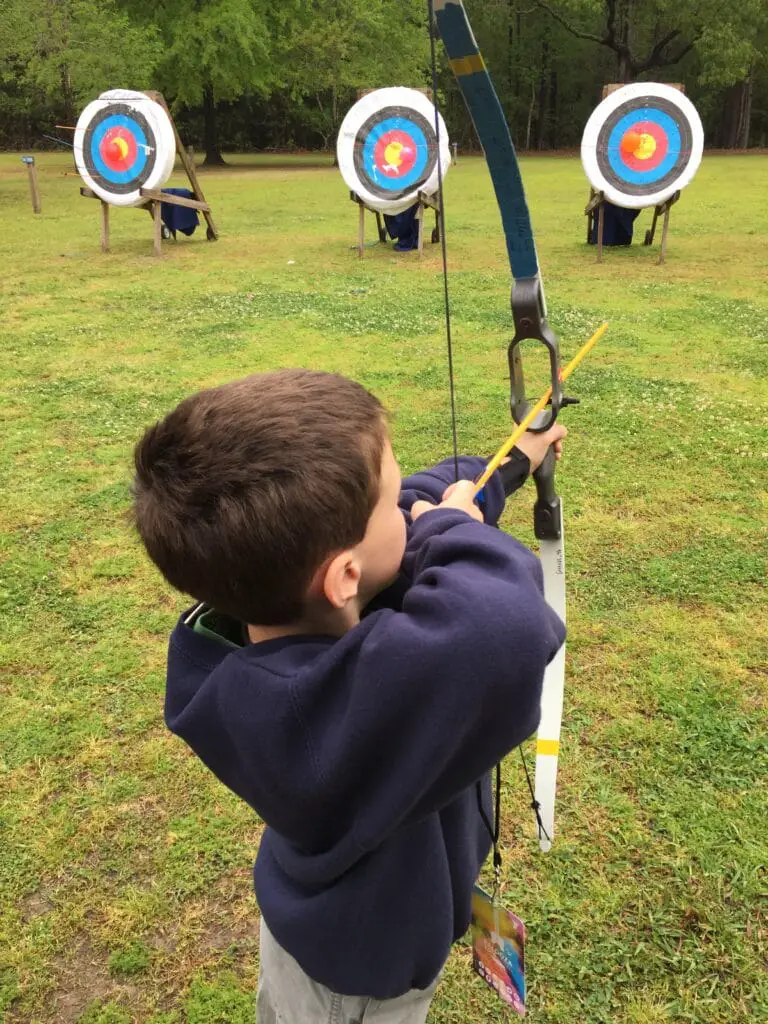
When you Google ‘’beginner’s bow’’, you will find a lot of brightly colored bows that look nothing like the beginner’s bow mentioned earlier. These plastic or fiberglass bows are not serious bows that you can use to practice archery. These bows are simply toys. These bows are in, in most cases, not even from archery manufactures. I have shot a few of these bows and some were so poorly designed that I had nasty hand slaps.
Therefore, I wouldn’t recommend this bow if you want to shoot properly. It might be fun for using it for an afternoon, but you don’t want to use it for much longer. I also don’t think these bows are suitable for kids that are serious about archery. Also, kids need a decent bow, to learn the right technique. So, it’s worth spending a bit more to get the right equipment.
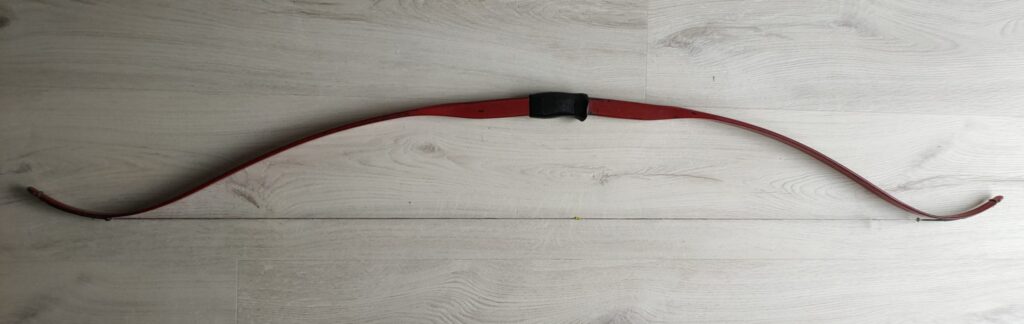
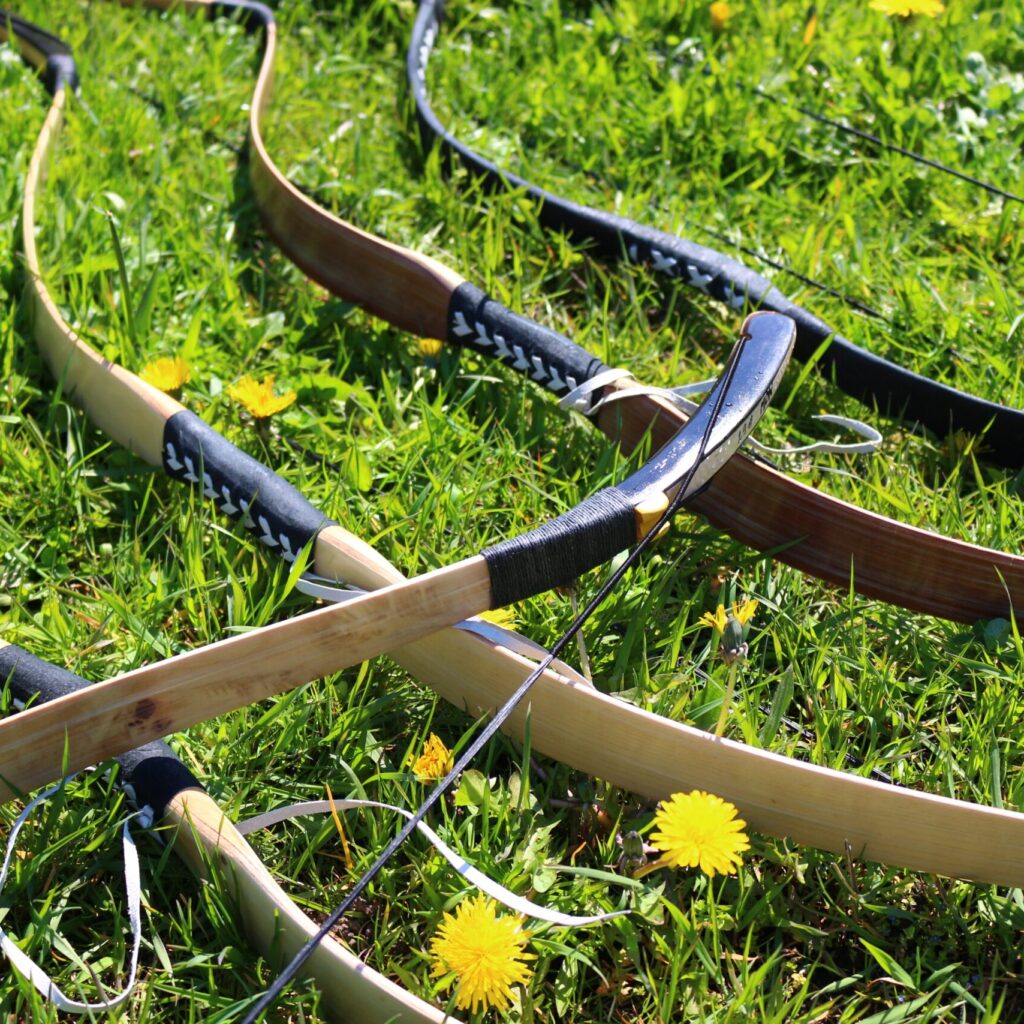
Takedown vs fixed limbs
Most beginner’s bows will have takedown limbs, which means that you can remove the limbs. This has two major benefits. It’s easier to store the limbs since your bow can be disassembled into 3 pieces. It also allows you to replace the limbs in case they break or if you want to increase or decrease the poundage.
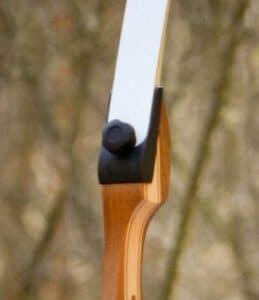
Probably the only benefit of fixed limbs, it that it looks better. The nob which you use to attach the limbs might look a little weird if you are not used to it. Therefore, there also are takedown beginners bows without a nob. With these bows, you must use a hex key to attach or remove the limbs. We will discuss these in more detail.
Generally, I would recommend removable limbs because you can easily replace them. Limbs are the weakest part of the bow, so it’s not uncommon that one breaks, especially with cheaper wooden limbs. You also might want to increase the poundage of your bow when you have built up your back muscles.
Things to consider
When you are searching online for a beginner’s bow, they might all look the same to you. They all have wooden riser and limbs and are all similar in shape. Therefore, I have 3 points which you should consider when buying your beginners bow.
Still, it might be quite a hunt to find the right bow. If you don’t want to spend hours searching online, you might want to look at the recommended gear at the end of this article.
Limb selection and replacements
As I mentioned a few times before, beginner’s bows always have a proprietary limb fitting. Therefore, you can’t mix and match limbs from different manufacturers. Sometimes even different bow models from one manufacturer have different limb fittings. This is contrary to the popular ILF fitting you find on most recurve bows. Click here, if you want to learn more about limb fittings.
Having a bow with a proprietary limb fitting doesn’t have to be an issue. But you must be more careful. When your limb breaks or when you want to increase your poundage, you want to change the limbs. If you buy a bow from a dodgy or unstable brand, they might not continue to produce limbs for your bow.
Therefore, I always recommend going with big name brands when buying a beginner’s bow, such as Easton, Southwestern Archery Supply (SAS), and Samick. Especially Samick bows are stocked almost everywhere and have a stable beginner’s bow selection. Therefore, I recommend a Samick bow.
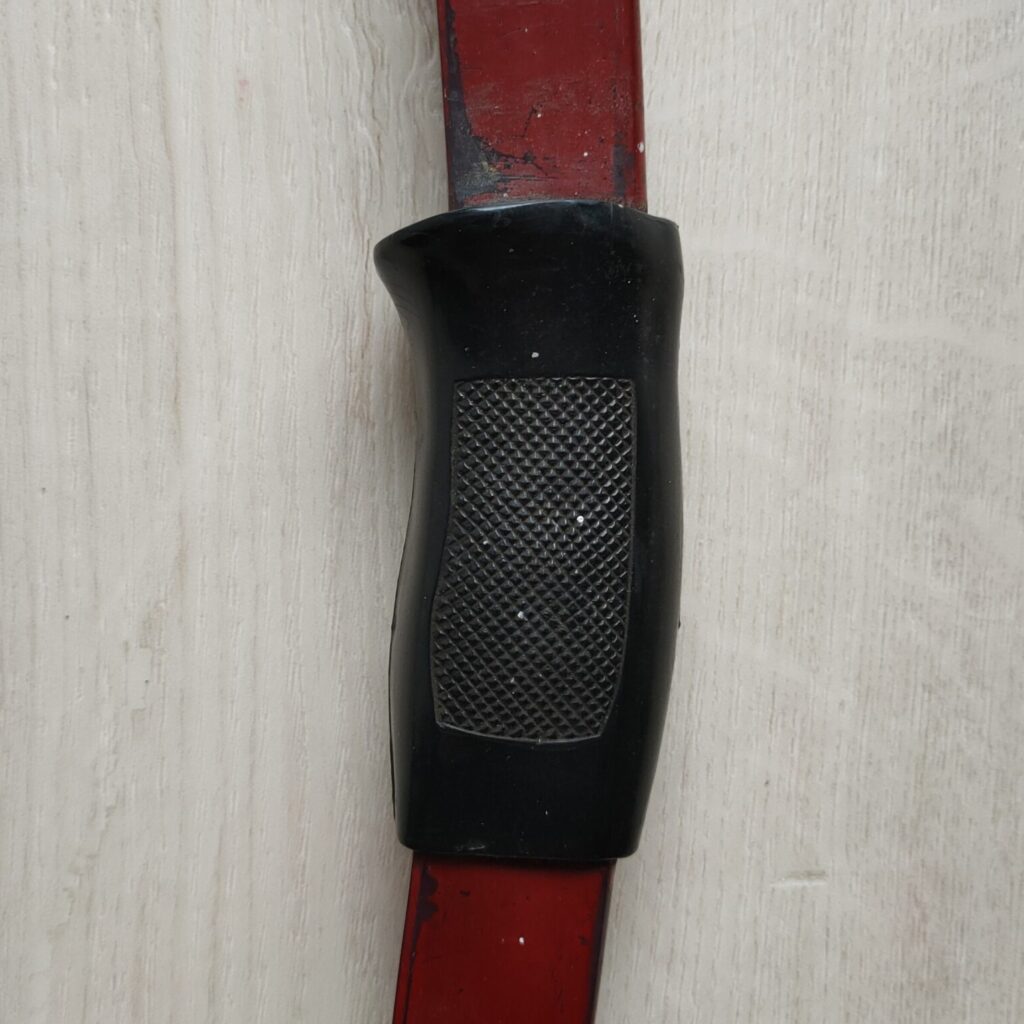
Takedown screws vs nobs
Most takedown recurve bows have a large nob that allows you to tighten the limbs by hand. Although this is convenient, some people don’t like the look of those nobs. Therefore, some models have a flat disc which looks a lot better.
The disadvantage of these discs is that you can’t tighten and loosen the limbs by hand, you need an Allen key to do that. Therefore, I only recommend buying these bows if you don’t want to disassemble it for storage.
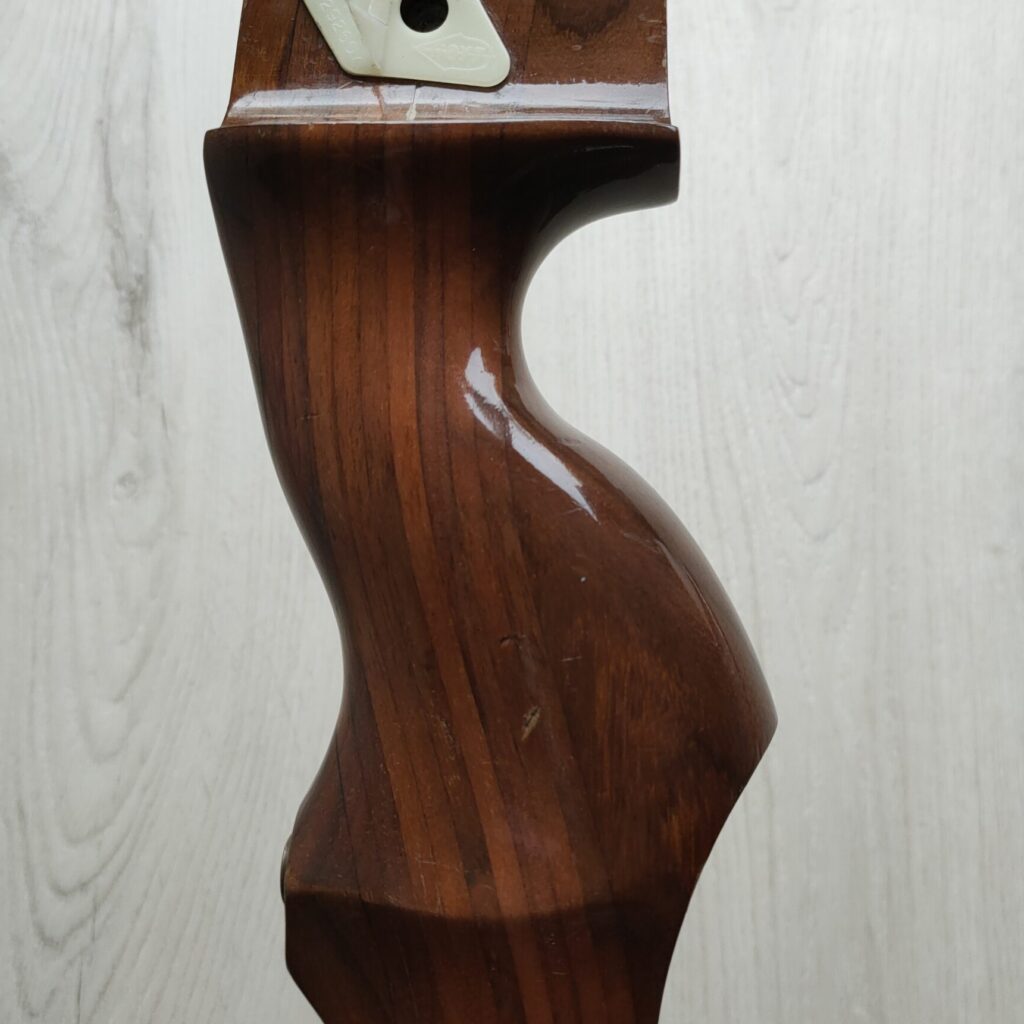
The shape of the grip
The shape of the grip is very important. A poorly designed grip can not only become uncomfortable, it can also severely reduce your accuracy. Therefore, if you visit an archery store, make sure you hold the bow to find out whether it has a good grip. If you buy your bow online this might be more difficult but looking at the reviews might help you out.
What else?
Of course, the quality of the limbs and riser are also very important. Sadly, that isn’t something that you can evaluate. While reading the reviews, you might see some that tell you that the limbs broke. But that could also be caused by dryfiring the bow. Therefore, I wouldn’t focus on this too much.
You don’t use a beginner’s bow for years on end anyway. Most people will switch to a recurve, traditional, or compound bow when they got the basic technique down. So, it doesn’t matter that much if the bow lasts 5 or 10 years.
Buying a beginner’s bow step by step
If you want to buy a beginner’s bow, follow the step-by-step instruction below. Sadly, to many new archers jump right to buying a bow without considering their draw length and draw weight. That can cause major issues, so be patient and follow these steps!
Step 1: measure draw length
Whenever you buy a new bow, you have to measure your draw length for two reasons. The first reason is that your draw length determines the length of your bow. If you have a long draw length, you need longer limbs. Therefore, you often see a max draw length on bows. If you draw further, it might reduce the lifespan of the bow.
Another reason why we want to measure the draw length is to estimate the actual draw weight. We need this measurement to select the right arrow stiffness.
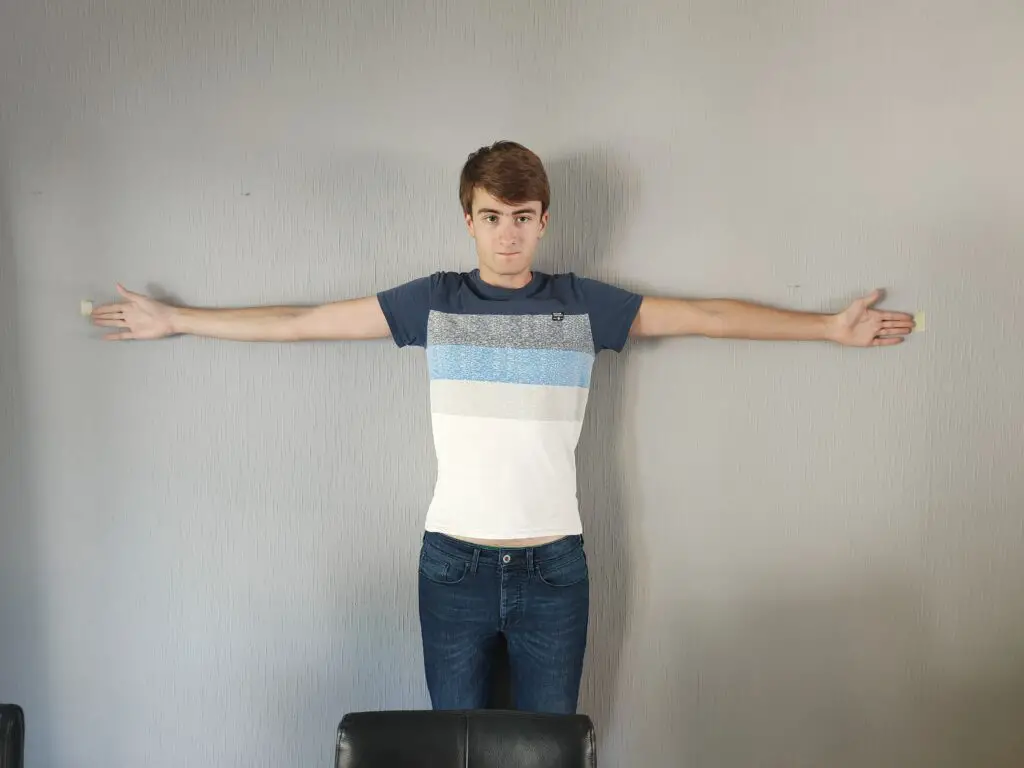
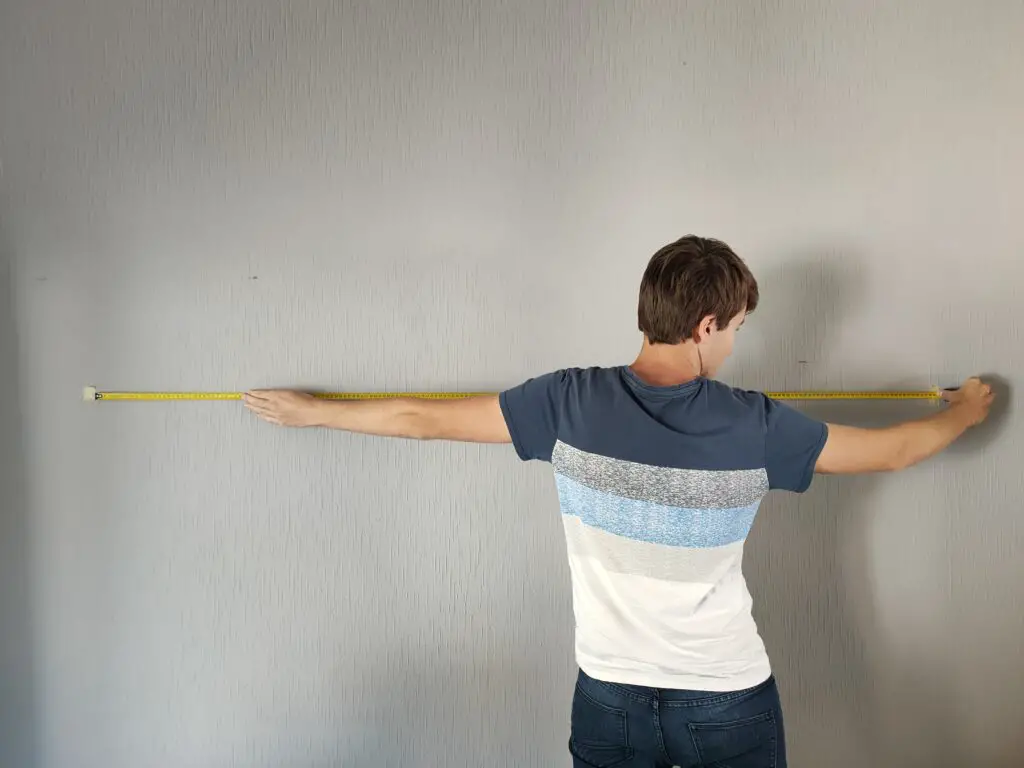
There are multiple ways to measure draw length. In this section, I will discuss the wingspan method, which is quite accurate and simple to do at home. If you want more information on how to measure draw length, read the article below:
How to measure your draw length
How to measure: Hold your arms horizontal and let a friend measure your arm-span from finger to finger. You might need two people to keep the measuring tape in place. You can also stick some tape on the wall and measure between these two points.
Step 2: determine the draw weight
The next step is to determine the draw weight of your future bow. It’s important to think about the draw weight before you start looking at different bows. A lot of archers make the mistake to buy a too heavy bow. This can make shooting very uncomfortable, inaccurate, and painful. So, you have to be careful! Below, you find a table with the recommended draw weight based on your age and gender.
| Archers profile | Draw weight |
| Small children | 16 LBS or less |
| Larger children | 16 till 18 LBS |
| Teenage female | 18 till 22 LBS |
| Teenage male | 20 till 24 LBS |
| Female | 20 till 26 LBS |
| Male | 22 till 30 LBS |
Read the article below, if you want more guidance on how to pick the right draw weight:
How to choose the right draw weight for your recurve bow
Step 3: select a bow
Now you know what draw length and draw weight you need; you can start looking at different bows. You can use the points from the previous section to find a bow that fits your needs. Make sure that your bow can be shot with your draw length. I would also strongly advise against buying a bow of more than 30 LBS if you have never practiced archery before.
Step 4: select your arrows
Selecting the right arrows is quite complicated, but I will make it as simple as possible. If you want the full explanation, you should read this article:
How to choose the right arrows for your bow
Step 4.1: The draw weight of your bow is always measured at 28 inches. But you might draw shorter or farther based on the length of your arms. Therefore, we must correct this measurement by using the table below. For example: if you have 30 LBS bow and a draw length of 26 inches you have an actual draw weight of 27 LBS (30*0.90=27)
| Draw length | Percentage | Factor |
| 20 | 65% | 0.65 |
| 21 | 69% | 0.69 |
| 22 | 72% | 0.72 |
| 23 | 77% | 0.77 |
| 24 | 82% | 0.82 |
| 25 | 86% | 0.86 |
| 26 | 90% | 0.90 |
| 27 | 95% | 0.95 |
| 28 | 100% | x |
| 29 | 106% | 1.06 |
| 30 | 111% | 1.11 |
| 31 | 117% | 1.17 |
| 32 | 123% | 1.23 |
Step 4.2: Use the arrow chart to find the right point weight and arrow spine (stiffness). This might be a bit complicated but let me clarify this with the example from above.
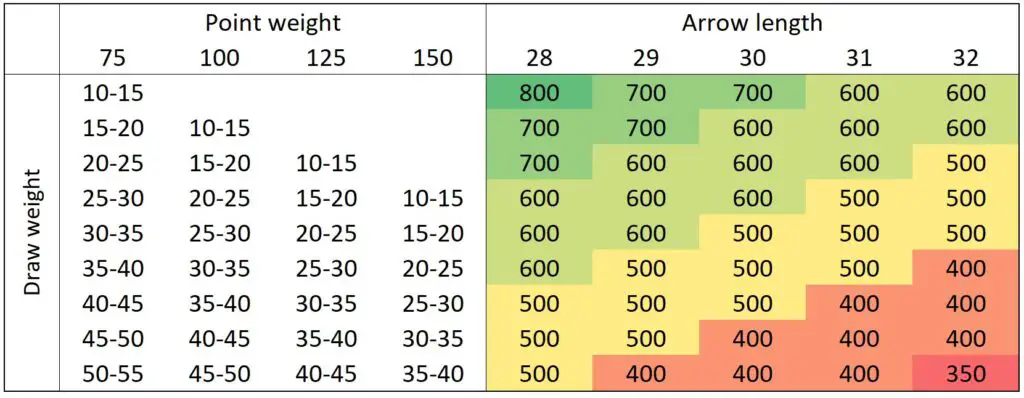
Step 4.3: Before you buy your arrow, make sure to compare it with the spine chart. The closer your recommended spine is to your actual spine the better. In general, a difference of 100 shouldn’t be an issue. But it shouldn’t be 300 or more.
Step 5: don’t forget your accessories
It’s easy to forget the accessories you need when getting started. But without a bow stringer, it’s very difficult to get your bow strung. You also need an arrow rest, otherwise, you can’t shoot your bow. Therefore, I have listed all accessories you need down below.
Necessary:
- Arrow rest: some beginners bows come with an arrow rest preinstalled. But in most cases, you will have to buy an arrow rest separately. Read this article for more information about arrow rests and how to choose the right one.
- Finger protection: shooting a bow without adequate finger protection will be painful. Therefore, you should buy a tab or finger glove.
- Armguard: some archers will never hit their forearm, but most will. If your string hits your forearm you will get nasty bruises. Therefore, you should buy an armguard.
- Bow stringer: you string a bow with a bow stringer, makes sense right! Although you can string a bow without a bow stringer it’s very difficult. So, make sure to buy a stringer, otherwise, you might not even get your bow strung!
Convenience:
- Quiver: you can of course put your arrows on the ground until you shoot them. But then you must bend over for every arrow. Buying a quiver will make this a whole lot more comfortable. A quiver doesn’t have to be expensive and lasts a lifetime.
- Bow case: if you only shoot in your backyard, you probably don’t need a bow case. But if plan on shooting anywhere else, you want to buy a bow case. A bow easily gets damaged during transport when not in a protective case or bag.
Optional:
- Sight: a sight makes shooting a lot easier, but it isn’t for everybody. If you want to give it a try, buy a cheap sight. You only know if you like it when you try. Click here for a buyer’s guide on sights.
- Stabilizer: most archers that use a sight, also use a stabilizer. A stabilizer makes for a steadier shot. This improves your accuracy and makes the shot process feel smoother. Click here for more information and a buyer’s guide on stabilizers.
Recommended gear
Although you now have all information to find a bow you like, it might take a long search. Therefore, I have listed down some gear that I would recommend.
Beginner’s bow
As a beginner’s bow, I would recommend the Samick Sage. This bow is extremely popular and with good reason. For an affordable price, you get a very reliable and high-quality bow. The simplicity of the design and the craftsmanship have made this bow a staple in the world of archery. An added benefit of the popularity of this bow is that you can easily purchase limbs separately. This is often an issue with cheap bows with proprietary limb fittings.
The junior version will be a better fit if you buy a bow for a kid (12 years or younger).

Arrows
For arrows, I recommend these arrows from Amazon. The benefit of these arrows is that they are available in different spine weights (arrow stiffness) and lengths. Therefore, it allows you to tailor your arrows to your new bow. These carbon arrows are more expensive than wooden arrows, but they will last a lot longer. Carbon doesn’t warp or bend, therefore, a set of carbon arrows can last a lifetime.

What arrow length you need depends on your draw length. If your draw length is longer than 28 inches or longer, I would recommend the 32-inch arrow. If your draw weight is shorter than 28 inches a 30-inch arrow will be more suitable. You can use the chart below to find the right arrow.

Arrow rest
The bow I recommended above doesn’t have an arrow rest. So you have to buy one separately. For beginner’s bows, there are two types of arrow rests. Thick plastic arrow rests and thin plastic arrow rests. I recommend getting the thin plastic arrow rest because they interfere less with the arrow.
I always recommend buying multiple, because they may come loose. The sticky backing can only be used once, so when it falls off you have to replace it. Therefore, I recommend buying this pack of 12 thin plastic arrow rests from amazon.

Tab
You can shoot a beginner’s bow with both a tab or a glove. But I do recommend using a tab because it helps you to consistently place your fingers on the string. With a finger glove, you can place the fingers on the string differently every time But with a tab you have to place the cutout on the arrow. So, therefore, the tab forces you to be consistent, which is a good thing.
Don’t buy an overly expensive and complicated tab when you are just getting started. Buying a more simple tab will allow you to focus on what is really important. Don’t buy the cheapest tab you can find either, because some don’t require adequate finger protection.
I think this Hide & Drink tab is a great option when you are just getting started. It’s made from real leather from a Leather crafts store and you have an extremely long warranty.

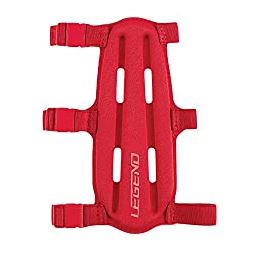
Legend Armguard XT
Armguards tend to be quite uncomfortable. They often cause nasty itching which is why a lot of archers ditch them. I don’t recommend that though, especially when you are just getting started. You can get nasty bruises if the string slaps your forearm.
Luckily, Legend Archery designed an armguard that feels comfortable and protects your forearm. The Legend Armguard XT has some major advantages over armguards. The straps are wider which means that they irritate your arms less and all the seams are on the outside of the armguard. Therefore, it also has a ton of positive reviews!
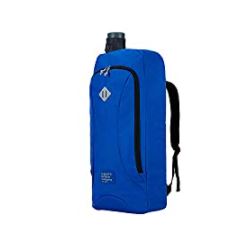
Legend Artemis recurve backpack
If you intend to travel with your bow, you should consider buying a bow case. Even if you only from your house to your local club a bag is an essential piece of equipment. If you are looking for a bag that will last a long time, I recommend the Legend Archery Artemis. This bag has a lot of storage and can be carried on your back, which is very convenient.
I also like the design of the backpack. It has a very minimalist design, which almost makes it look like a regular outdoor backpack. Although there are cheaper backpacks available, they also tend to be made of cheaper materials. That’s why I am a huge fan of Legend Archery, because they always provide high-quality products, even for their entry-level products.
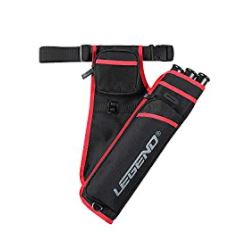
First hip quiver
Just like a bag, I don’t recommend going cheap on quivers. A good quiver will last a lifetime and has a decent resell value if you choose to quit the hobby. Some cheap quivers are made of cheaper materials and tear easily. They also tend to be less stable while walking.
Therefore, I recommend the First Hip Quiver from Legend Archery. This entry-level quiver has the exact same design as I have but is more affordable. It also has all the common pockets, to store your tools, tab, and scorecard.
Sight
If you would like to shoot with a sight you might like the NIKA Archery Recurve Sight. Since you only know whether you like shooting with a sight when you try it, you shouldn’t invest too much in your first sight. I recommend this sight over other cheap sights because this sight has a small aperture housing. Therefore, less of your sight picture is blocked by the sight housing.

Stabilizer
If you use a sight, you might also want to add a stabilizer. The stabilizer makes your shot steadier, therefore, it’s easier to aim your shot. This stabilizer from Milaem is a good stabilizer that will do the job. It’s one of the cheaper models that features a carbon shaft (for weight reduction) and a dampener.
What length you want depends on your preference. Longer stabilizers provide more stabilization, but also make the bow more unwieldy. I would choose the longest version since I want maximum stabilization, but the choice is yours.

More buyer’s guides
Choosing the right archery gear is very important, therefore I have written a lot of buyer’s guides on all kinds of archery equipment. Learn more by clicking on any of the articles below.
Bows
Bow parts
Archery equipment
Final words
In some previous articles, I told that I think the Samick Sage is overrated. Some archers say that it shoots amazing and that nothing is comparable to it. But I disagree, it’s just a wooden beginner’s bow. It’s a high-quality bow, but it’s not the only high-quality option in its class.
Still, if you want to buy a beginner’s bow, I would recommend the Samick Sage. Because you are locked into an ecosystem with the proprietary limb fitting, you want to pick a popular bow. If you choose a beginner’s bow that isn’t popular, it might be hard finding new limbs, if you ever need to replace them.
The Samick Sage has been on the market for years and is here to stay. Samick will not stop producing the Sage anytime soon, since it’s very popular. Luckily Samick also didn’t raise the price much, so it’s still a great deal.
If you have any questions, comments, or experiences you would like to share, please leave them down below. I am looking forward to hearing your feedback! I will respond to any questions as soon as possible and send you an email with my reply.

Tim van Rooijen
For as long as I can remember, I have always been fascinated by archery. First due to its historic significance but later because I like being outdoors. With this blog, I share my knowledge about Archery and how you can improve your shot. More about author…